How to draw a lotus flower: a simple 5-step method
To create a lotus flower drawing, start with a simple silhouette rather than a multitude of details. A central petal, a few petals on either side, and an open base are enough to build a recognizable stylized flower.
This five-step method helps you organize shapes on paper. It offers a decorative interpretation, not an exhaustive botanical study or a copy of a specific religious symbol. You can then adapt the number of petals and the style to your own drawing.
Prepare a sheet and simple guidelines
You can start with a pencil, an eraser, and a sheet of paper you enjoy working on. A pencil allows you to explore proportions before choosing the final outlines. A pen can be used later, but it is not necessary for the first attempt.
An easy-to-draw lotus flower mainly requires clear organization. Reserve an area large enough to unfold the petals. If you start too close to an edge, you risk shortening part of the flower just to make it fit.
Lightly trace a vertical axis and a horizontal guideline for the base of the design. These lines serve to compare both sides. They should not become a rigid grid: a slight variation can give a drawing life, as long as the silhouette remains consistent.
Before you begin, choose your orientation. A widely stylized, front-facing flower is simpler for this method than a tilted flower with complex perspective. You can explore other views once the construction is understood.
Step 1: Draw the central petal

Place a petal high on the vertical axis. Bring a curve up from its base to a soft point, then come back down with a second curve. Look for a readable shape, wider in the middle than at its ends.
This lotus petal gives height to the flower. It serves as a reference point for the following shapes, without needing to be perfectly symmetrical. If a curve seems too straight or too angular to you, correct it with your pencil before adding other elements.
Do not add many small lines inside at this stage. A clear outline allows you to judge the proportions. Veins and shadows can wait, if you decide to add them.
Step 2: Add two petals on either side

Draw a neighboring petal to the left and another to the right of the central petal. Their tips can be slightly lower and oriented outwards. They build the top of the flower and widen the silhouette.
For a stylized lotus, these three petals can form a first simple structure. Compare their width and direction. If they all point in exactly the same place, the drawing might seem very closed; if they spread out too much, the flower may lose its center.
The bases should meet in a consistent manner. You can keep a few temporary lines to understand the overlaps, then erase those that would be hidden by a petal placed in front. This prevents all the lines from overlapping.
Step 3: Construct the foreground petals
Add a pair of petals closer to the base. They can be shorter than the central petal and slightly offset to the sides. Their presence creates an impression of multiple layers, even in a simple composition.
A simple lotus drawing maintains a hierarchy: the rear petals provide the height, those in the foreground occupy part of the center. Decide which lines should remain visible. A clear boundary between shapes avoids turning the middle of the flower into a tangle.
You can then add a pair of more open side petals. Do not add them just to fill every space. Look at the silhouette after each addition and stop when the flower matches your intention.
The number of petals in this method is not a botanical rule. A decorative interpretation can have more or fewer. What matters here is the relationship between the shapes and their readability.
Step 4: Open the base of the flower
More horizontal petals can form a base and give an impression of unfolding. Start their curves near the center, then open them on either side. They do not need to be as high as the rear petals.
For an open lotus flower, the width of this base contributes to the impression of blooming. If it is very short, the design will seem more closed. If it is very wide, ensure it does not dominate the entire composition.
You can finish with a small petal directed downwards, as in our final illustration. It is a graphic choice for this stylized version, not an obligation. Another interpretation can keep a simpler base or add a stem.
Step 5: Clarify the outlines and erase guidelines

Now look at the flower as a whole. Choose the lines that truly define the petals, then erase the guidelines and temporary strokes that are no longer needed. You can slightly strengthen the selected outlines.
A line-art lotus drawing benefits from keeping space between the shapes. If several lines meet in the same place for no reason, simplify that area. The drawing does not need to show all the steps you used to construct it.
If you wish to trace the outlines with a pen, try it out first on a small area or a separate piece of scrap paper. Take the time to follow the curves rather than seeking a steady speed. You can also keep an entirely pencil-based version.
Your lotus is finished when you are pleased with its silhouette. A second sheet of paper then allows you to try a variation without overloading the first drawing. Comparing two versions is often more useful than indefinitely correcting a single composition.
Three common difficulties and how to look at them
The center becomes too dense
If many lines cross in the middle, check the petals placed in front and behind. Erase the outlines that would be hidden. You can also remove a small detail to give space back to the center.
The two sides no longer seem to belong to the same flower
Compare the height and openness of the neighboring petals with your light axis. It is not necessary to make them identical, but they must maintain a consistent direction. A deliberate difference is more readable than a shift added due to lack of space.
The silhouette resembles another flower
Look at the tips, the unfolding, and the overlaps. A lotus silhouette can be very stylized, but a few well-organized petals help to recognize it. If you are looking for a precise botanical drawing, work instead from an adapted observation of the real flower.
Line art, shaded, or colored: choosing a single priority
A line-art version emphasizes the outlines. A shaded version can show volume. A colored version can provide an ambiance. Start with one priority before adding others, to see what actually contributes to the drawing.
| Style | Focus on | Watch out for |
|---|---|---|
| Simple outline | Form and spacing | Unnecessary intersections |
| Pencil with shading | Consistent light direction | Dark areas that mask the petals |
| Decorative color | A palette you like | Accumulation of details without hierarchy |
The lotus flower to color can keep large open surfaces. You do not need to fill every petal with a different color. A short palette can highlight the silhouette better.
Colors sometimes have a meaning in specific religious works, but your contemporary drawing does not necessarily follow a universal code. You can choose a shade for its visual appeal without attributing a spiritual function to it.
Add a frame without masking the lotus

A circle, a few branches, or a mandala pattern can surround your flower. Keep a clear hierarchy: the lotus must remain identifiable if it is your main subject. A frame that is too dense can attract all the attention and make the petals look secondary.
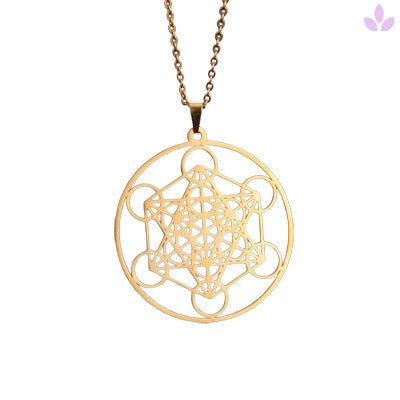
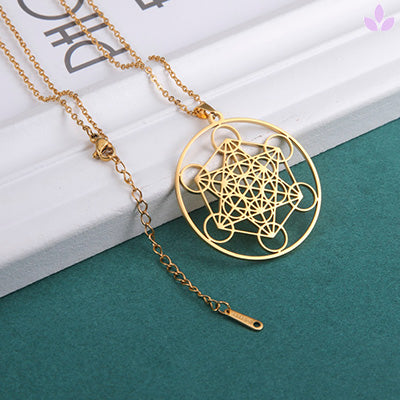
A lotus and mandala design here forms a contemporary composition. It should not automatically be presented as a reproduction of a religious diagram. Our article on sacred geometry helps distinguish a graphic construction from the interpretations associated with it.
For a first version, simply try a light outline around the flower. Then compare it to your drawing without a frame. You can keep what you like without adding signs just to fill the page.
From drawing to symbolic object
You can use your drawing in a notebook, on a personal card, or in an illustration. It does not need to become a permanent project. The method serves to understand a construction and to find your own way of representing the flower.
The Lotus Flower Necklace offers another interpretation of the motif, in an openwork piece of jewelry. Look at its actual silhouette rather than considering it an exact copy of the method presented here.

A lotus flower piece of jewelry might appeal to you for its outlines and your personal intent. Compare the dimensions and materials on its product page. The transition from paper to an object changes the way one conceives of lines and spaces.
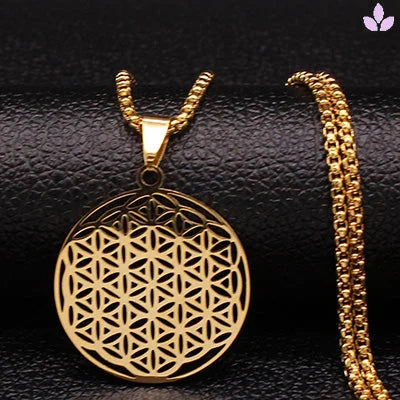
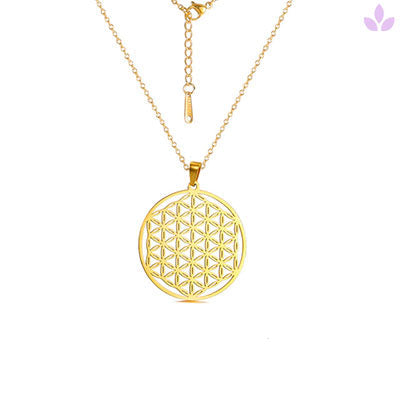
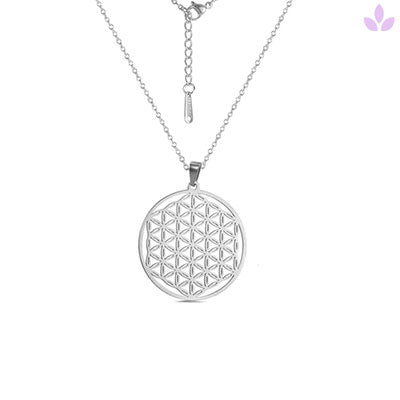
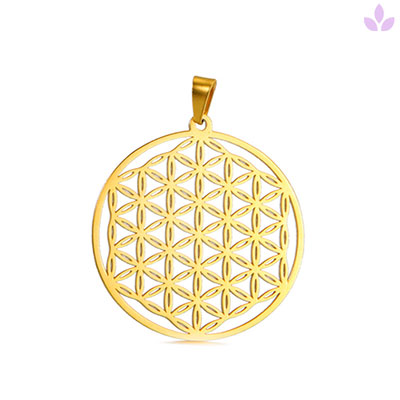
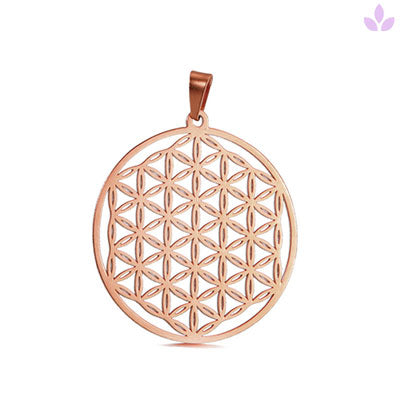
If you wish to compare a geometric construction with a figurative flower, discover our Flower of Life necklaces. The Flower of Life is composed of overlapping circles; it is distinct from the lotus you have just drawn.
FAQ – Frequently asked questions about drawing a lotus flower
Which part should I start with?
A central petal can provide an axis and a height. Then add the neighboring shapes to build the silhouette.
Is an exact number of petals required?
No, for this stylized method. The number depends on your version; prioritize a readable organization.
Why does the center become confusing?
Hidden petal outlines may have remained visible. Decide on the foreground and erase the lines that are no longer needed.
Can I keep only the outlines?
Yes. A line-art version can be complete without shadows, colors, or decorative details.
Are the lotus and the Flower of Life the same drawing?
No. The lotus is a flower represented in a figurative or stylized way; the Flower of Life is an organization of overlapping circles.
A simple construction to adapt to your style
Drawing a lotus flower becomes easier when you organize the petals around an axis and choose the useful lines. Start soberly, compare the shapes, and finish the outlines before adding details. You obtain a foundation that you can develop at your own pace.